In this tutorial we’ll learn how to set up reverb zones in Unity by using the Ak Environment and Ak Environment Portal components provided by the Wwise integration package.
Setting up Reverb Busses in Wwise
In the Master-Mixer Hierarchy, create a new bus named Reverbs. Inside that bus, create two auxiliary busses for each of your rooms. In my case, I’m creating a reverb bus for the bedroom and another one for a bathroom:

For each of the auxiliary busses, switch to the Effects tab and add a reverb to the the effects.

Make sure to check the Use game-defined auxiliary sends option in sound property tab of the sound object you want to enable the reverbs rooms for.

Creating Reverb Zones with Ak Environment in Unity
Create two GameObjects and attach a trigger collider to each object. Resize the colliders so they resemble real rooms (let’s also just pretend there are real walls!)

Attach an Ak Environment script to each GameObject, select the appropriate reverb bus in the Name field and also create a kinematic Rigidbody:

Repeat this step for the small bathroom. Now create a third GameObject, attach a trigger collider to it and move it between the two rooms like this:

Attach an Ak Environment Portal component to the third GameObject. You can think of the portal as a crossfade between the two reverb spaces:

The Ak Environment Portal component will automatically detect the GameObjects containing Ak Environment components that intersect with its own collider. If it doesn’t, change the axis orientation in the Axis field.
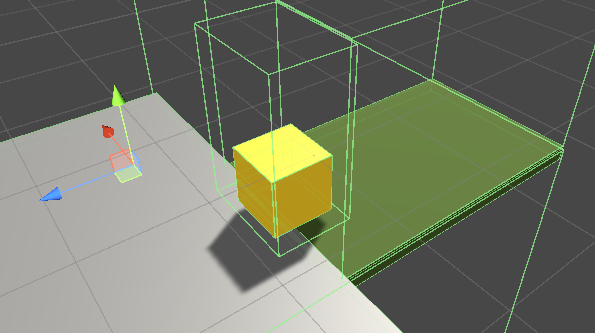
Now create a new GameObject containing an Ak Ambient or Ak Event and post the Event that should be affected by the reverbs, give it a collider and a rigidbody. In my case it’s a simple cube to test the behaviour:

The reverb will smoothly crossfade from one preset to the other if the sound object passes through that collider.