To integrate FMOD into Unity, you need the FMOD for Unity Integration package from Firelight Technologies. If you haven’t already, create an account on their website to access the download section. It’s free. The download you’re looking for is this:
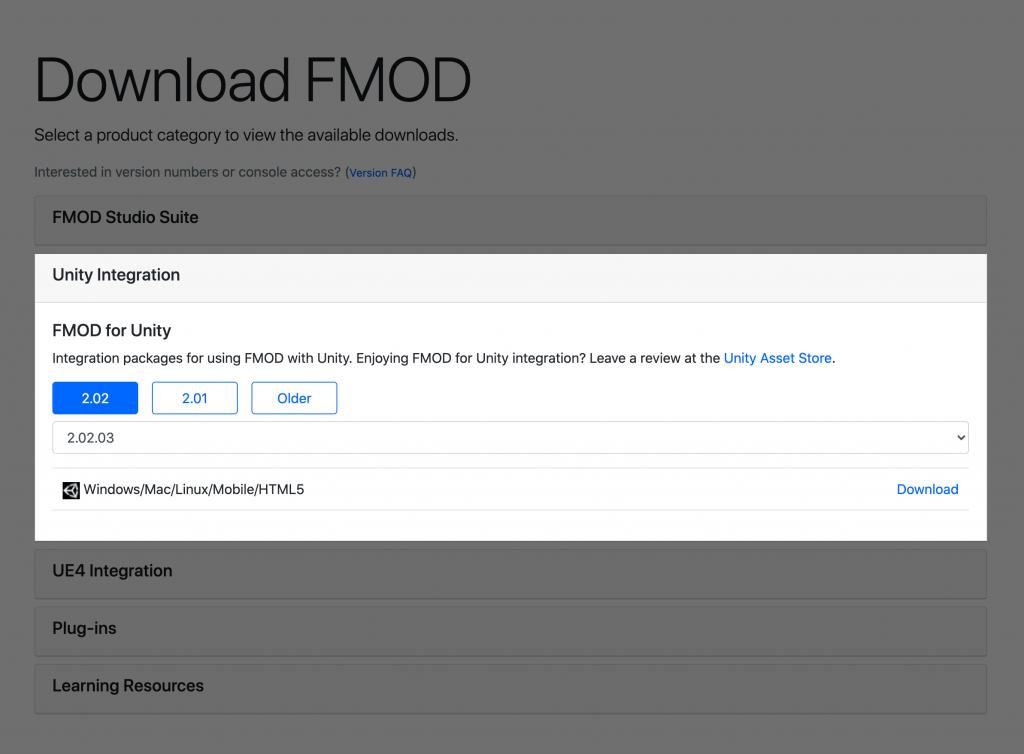
Note that FMOD Studio and the FMOD Unity Integration should have the same version to avoid compatibility errors. For all tutorials I’ll use FMOD Studio 2.02.03 and Unity 2020.3.22f1.
This video tutorial is based on an older version of FMOD Studio (2.0.1) and Unity 2019.1.2f1. Most of the setup routine is still valid, but keep in mind that some things might have changed in the meantime. The document below always contains information about the latest version.
Install the FMOD Integration Package in Unity
Open and import the downloaded .unitypackage file into your Unity project. FMOD will display a setup wizard after the import process:
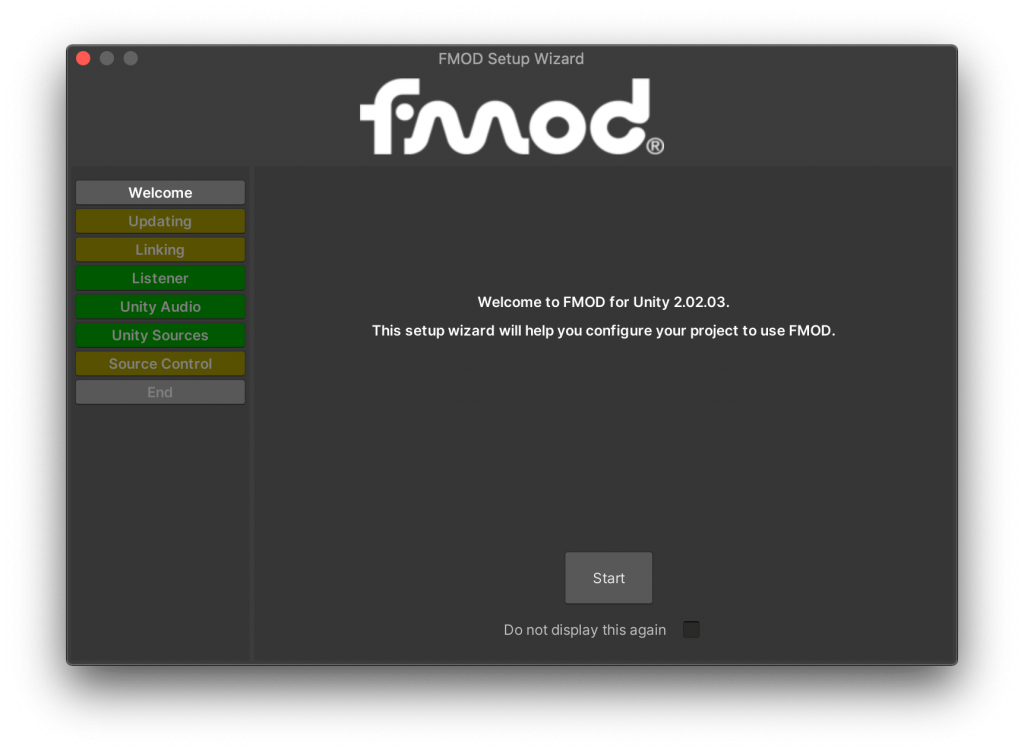
Click on Start to start the setup process and go through the following steps (don’t forget to click on “Do not display this again”, as it seems the wizard will display again every time you launch your project….):
Updating
You can skip the Updating section if you just installed the integration package on a project that didn’t use FMOD before. If you are updating from an older version the wizard offers two tools to reorginze the plugin files and update the Event references:
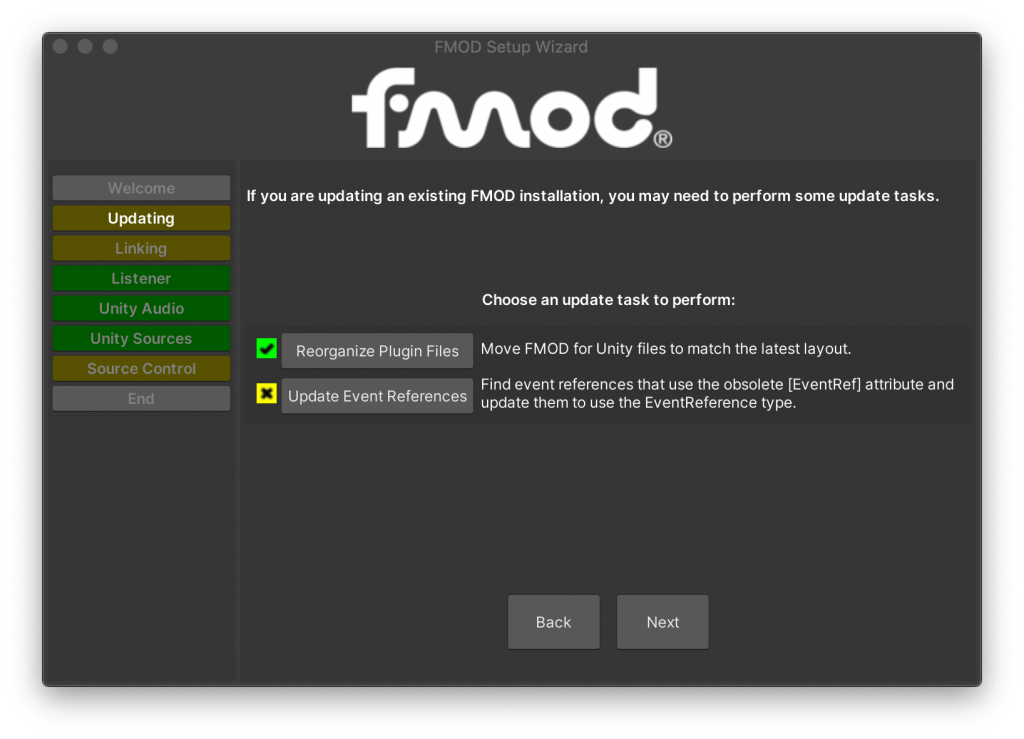
In older versions, the integration used an attribute to make selecting events in the inspector easy:
[FMODUnity.EventRef]
public string fmodEvent = default;
In version 2.02 the the [EventRef] attribute has been replaced with a new EventReference type:
public FMODUnity.EventReference fmodEvent;Linking
Here you can specify how the Unity plugin accesses your FMOD Studio content.
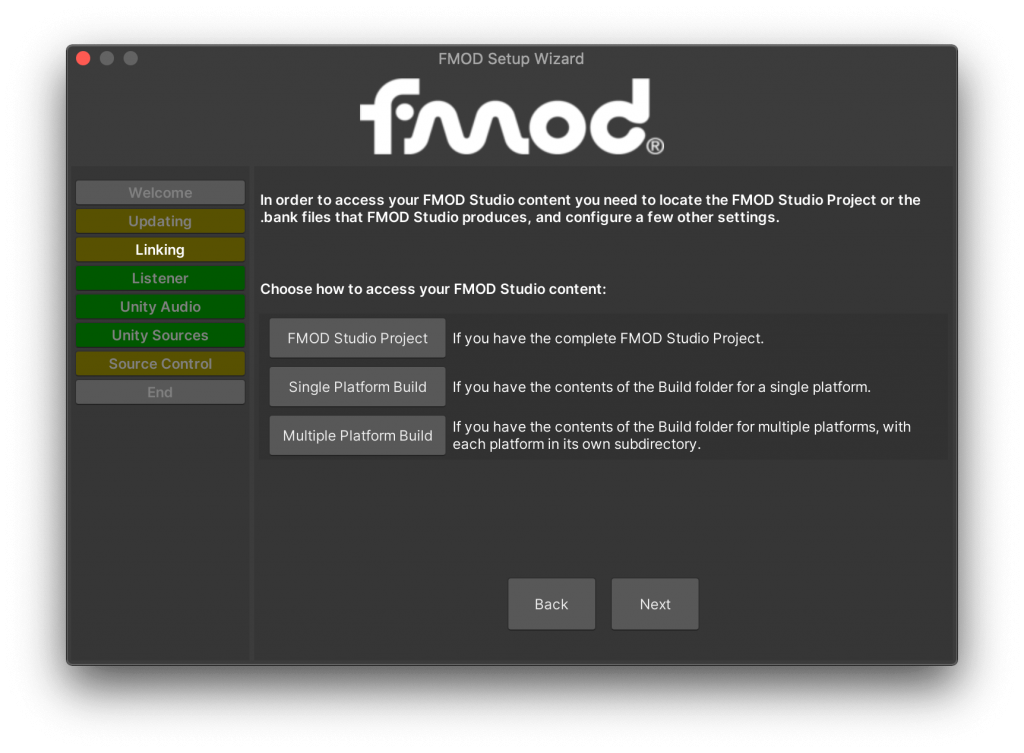
If you have not yet created an FMOD Studio project, create a new FMOD Studio project by opening the FMOD Studio application and clicking File>New and then File>Save As. The project can be saved in any folder on your hard drive.
If you are working with a team and using version control, each team member must have access to the FMOD Studio project if you choose the first option in this step. Alternatively, you can push only the FMOD Banks to the Unity Project folder, while the FMOD Studio Project resides on your local hard drive. Both options work well! If you only want to export the banks, select the Single Platform Build or Multiple Platform Build option in this step. You’ll then promted to select the studio project or to point to the location of the banks.
Every time we build our FMOD project (File->Build…), the FMOD banks are loaded into Unity so that we can access the FMOD Events in the Inspector and in C# code.
Listener
This handy step will allow you to swap the Unity lister with the FMOD Studio listener in the active scene. This usually involves finding the camera and the listener, so it saves a bit of time.

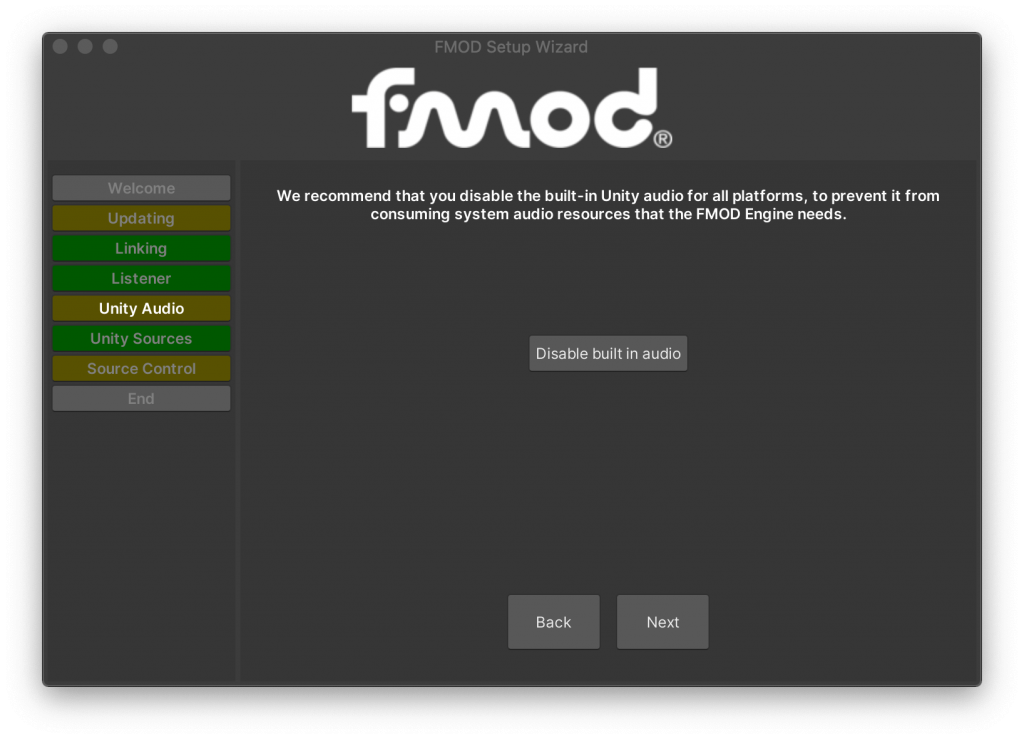
Disable Unity’s Audio System
It’s recommended to disable Unity’s audio system. Especially on consoles (XBOX) you’ll encounter compatibilty issues if you leave it enabled. So disable it here:
Replace Unity Audio Sources with Studio Event Emitters
The wizard will show you a list of Unity Audio Sources present in the current loaded scene:
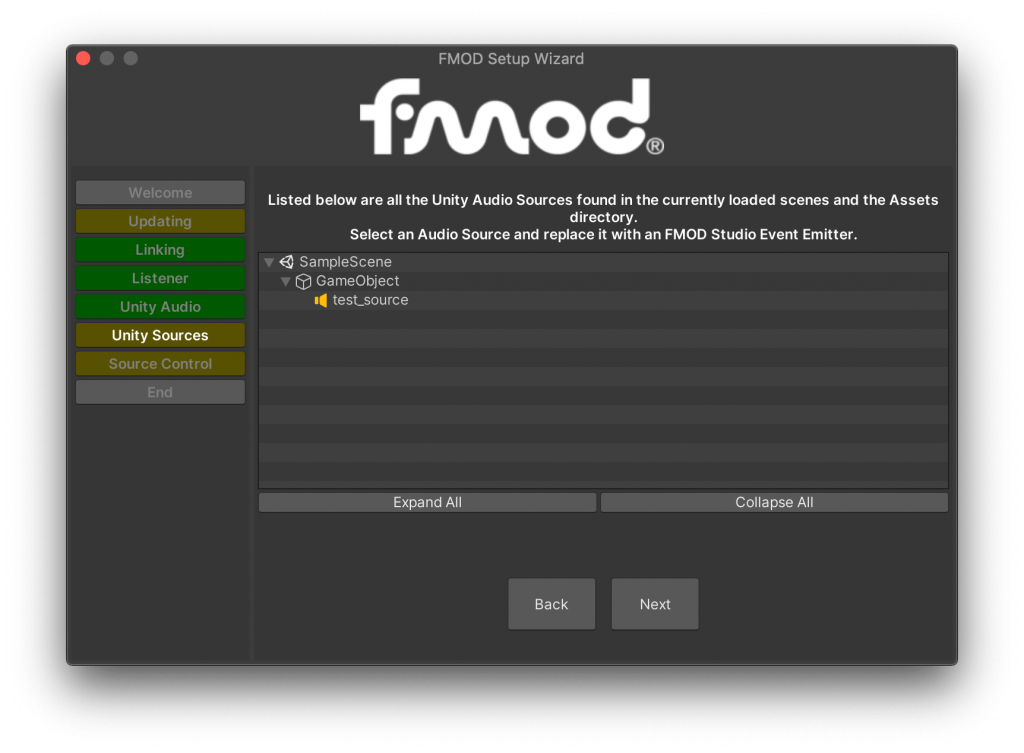
When you click on an audio source, it will be displayed in the inspector so that you can easily replace it with a Studio Event Emitter component.
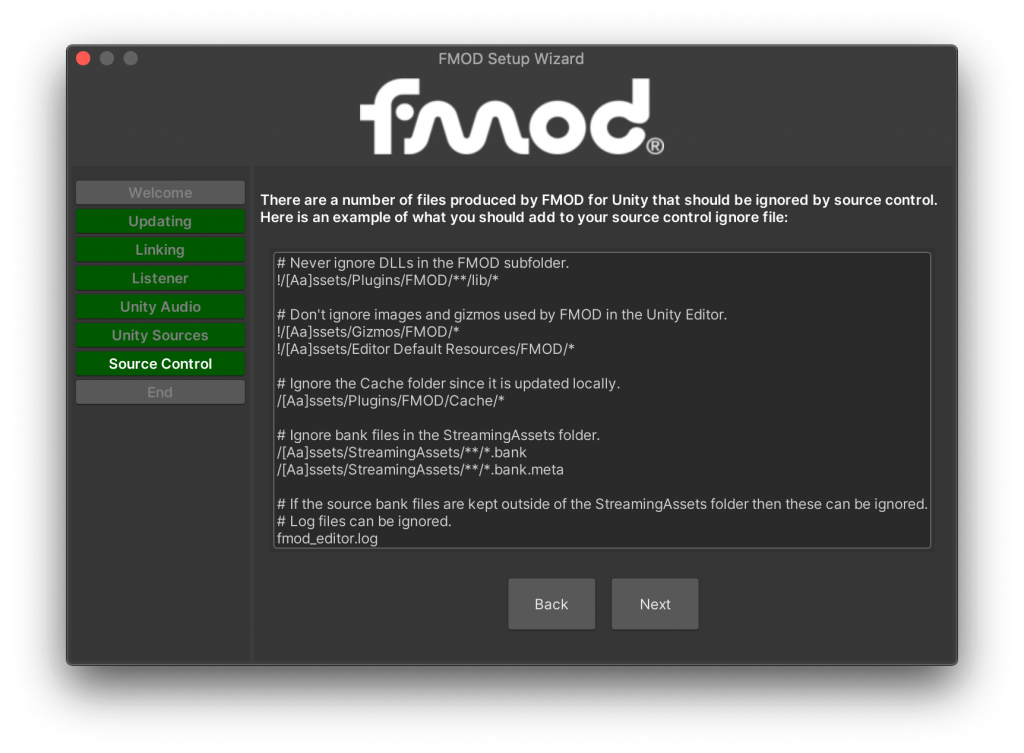
Source Control
The wizard also provides some suggestions about what to include in the .gitignore file used in your repository:
Once we’re done with the setup, we can finally take a look at the FMOD Studio Events and write the first code for our sounds!