FMOD is a popular audio middleware solution used by game developers to create immersive audio experiences. Integrating FMOD with game engines like Godot can be a bit daunting, but with the right guidance, it can be straightforward. In this article, I’ll walk you through the steps to get started with FMOD in Godot in just five easy steps. By the end of this tutorial, you’ll be able to get FMOD running in your Godot project.
1. Downloading the integration
To use FMOD in Godot, you need to get the latest release from GitHub. You can find it here: https://github.com/alessandrofama/fmod-for-godot/releases
The release will match a specific version of both the FMOD API and the Godot Engine.
You can see which version of Godot and FMOD the release is for by looking at the filename. For example, this release works with Godot 4.0 stable and FMOD 2.02.12:

CI builds can be downloaded in the Actions sections of the repository under the artifacts of a run:
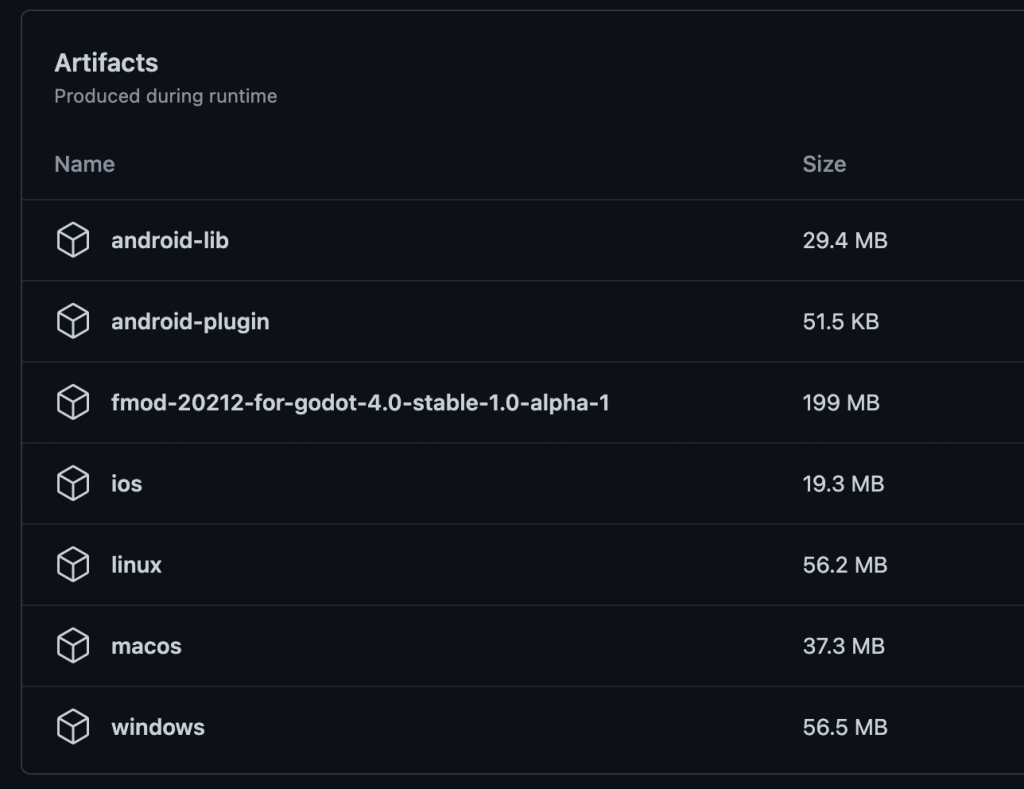
The fmod... zip file will already contain the required libraries.
2. Installing the integration
Once you have the integration package, paste the files from the unzipped folder into your Godot project (make sure Godot is closed before you do this).
Open your project and check if yout get any errors. Sometimes Godot will require an additional restart to correctly import all integration files.
3. Locating the FMOD banks
The integration needs the location of your banks. Note: Your banks must be located inside your Godot Project for now. You’ll need to set the build location in FMOD Studio or copy them manually over to your Godot Project
To set the path to the banks, go to your Godot project’s Project Settings and turn on the Advanced Settings switch:
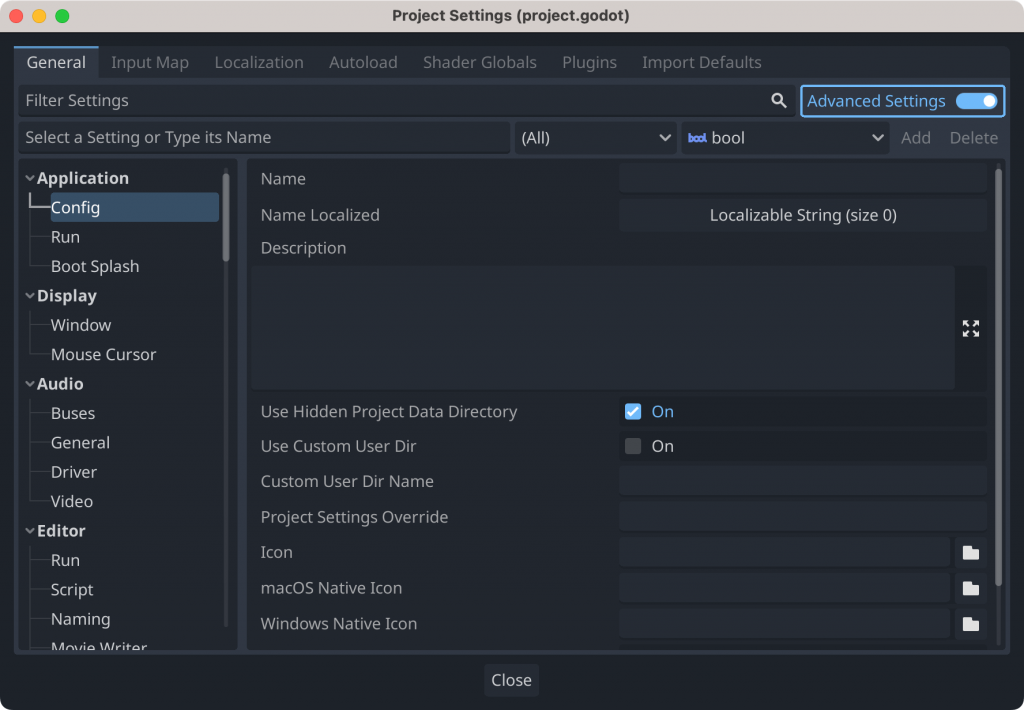
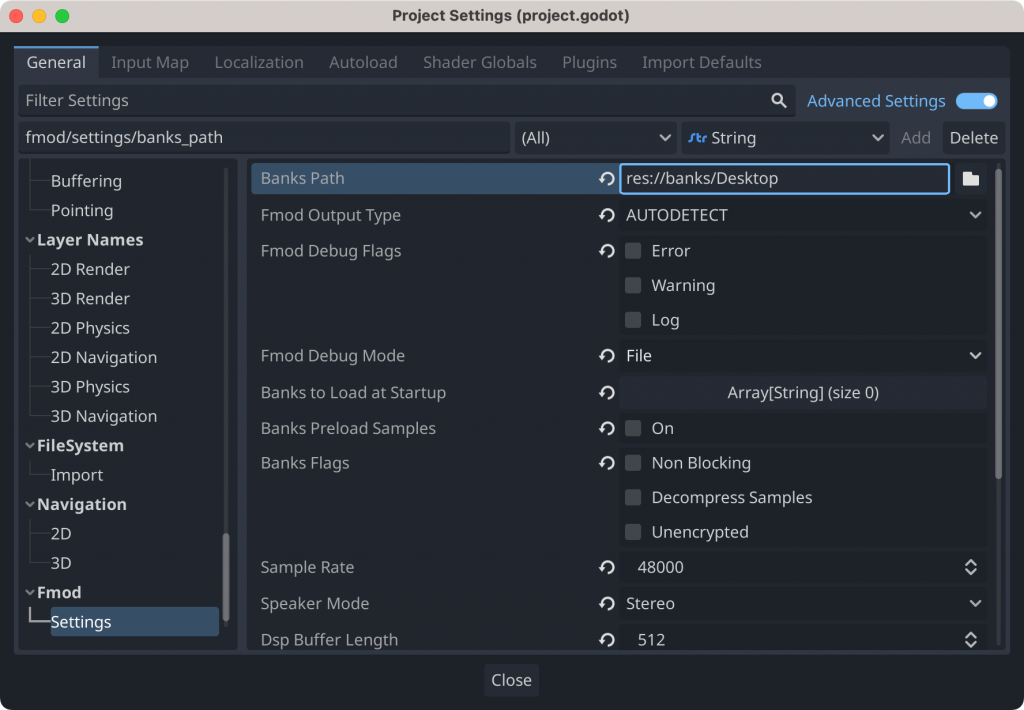
Find the FMOD settings in the settings list and click on Fmod->Settings. Choose the folder of the banks in the first option named Banks Path:
4. Refreshing the project
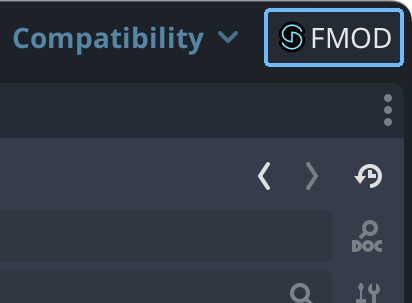
When you have set the path to the banks, click on the FMOD button on the top right of the Godot toolbar to open the FMOD Project Browser:
In the Project Browser click on on the first button Refresh Project:
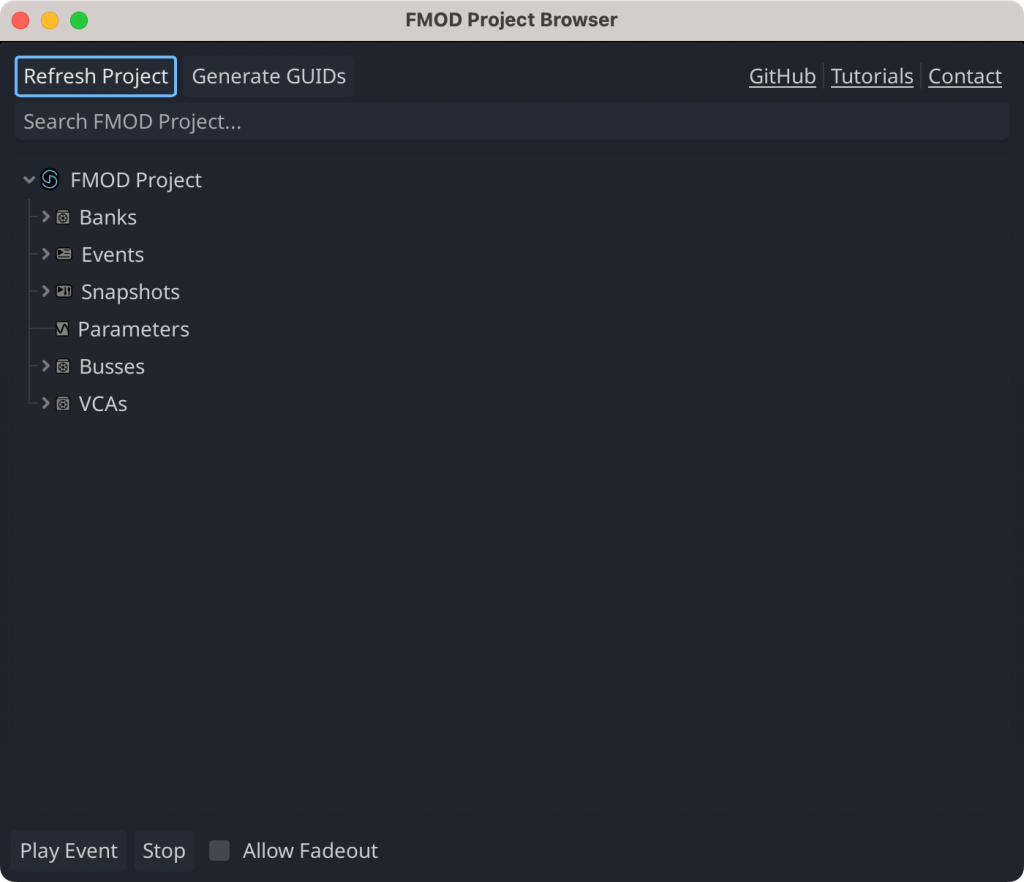
This may take some time if your exported banks have a large size. You will know when it is done by these three messages:
[FMOD] Loading Editor Banks
[FMOD] Cache created in res://addons/FMOD/editor/cache/fmod_project_cache.tres
[FMOD] Loaded Editor BanksImportant: You will need to refresh the project every time you re-export banks. Every member of your team will need to also click on that button when pulling new banks.
5. Testing if the integration runs
To test if FMOD is working properly, run a blank scene or any scene you have. Look for this message in the output console to confirm that everything is fine:
[FMOD] Initialized Runtime SystemCongratulations! You can start using the FMOD for Godot integration now.
In the next tutorial, you will learn how to load banks in Godot.
Optional: Generating FMOD GUIDs
Make sure your FMOD project is running in the background. Then, go to the Project Browser and press the button that says Generate GUIDs. This operation might also take some time. The integration will print:
[FMOD] GUIDs generated in res://addons/FMOD/editor/fmod_guids.gdonce it has finished generating the GUIDs. If you open and inspect that file, you will the generated GUIDs for your FMOD assets:
#
   # fmod_guids.gd - FMOD Studio API

   # Generated GUIDs for project 'celeste_audio.fspro'
#

class_name FMODGuids

class Events:
	const CHAR_BADELINE_APPEAR = "{ad25a031-880b-4f88-ac12-82d6c52fbdea}"
	const CHAR_BADELINE_BOOSTER_BEGIN = "{7a71fc61-b688-4d82-a2b7-781c2434e942}"
	const CHAR_BADELINE_BOOSTER_FINAL = "{b2ee45d8-e1b0-43f1-baaa-f6e77d37ddb5}"
	const CHAR_BADELINE_BOOSTER_REAPPEAR = "{207a212a-2beb-4022-a8da-11ac987d3097}"
	const CHAR_BADELINE_BOOSTER_RELOCATE = "{7e3c6b4e-e41a-4e9a-9d24-22737c66593b}"

[...]
You can use the GUIDs in GDScript by accessing the FMODGuids class.
Which files need to be included in version control?
Make sure to include the generated FMOD Assets resources in addons/FMOD/editor/resources.
You don’t need to include the project cache file. It will be re-generated when refreshing the project.